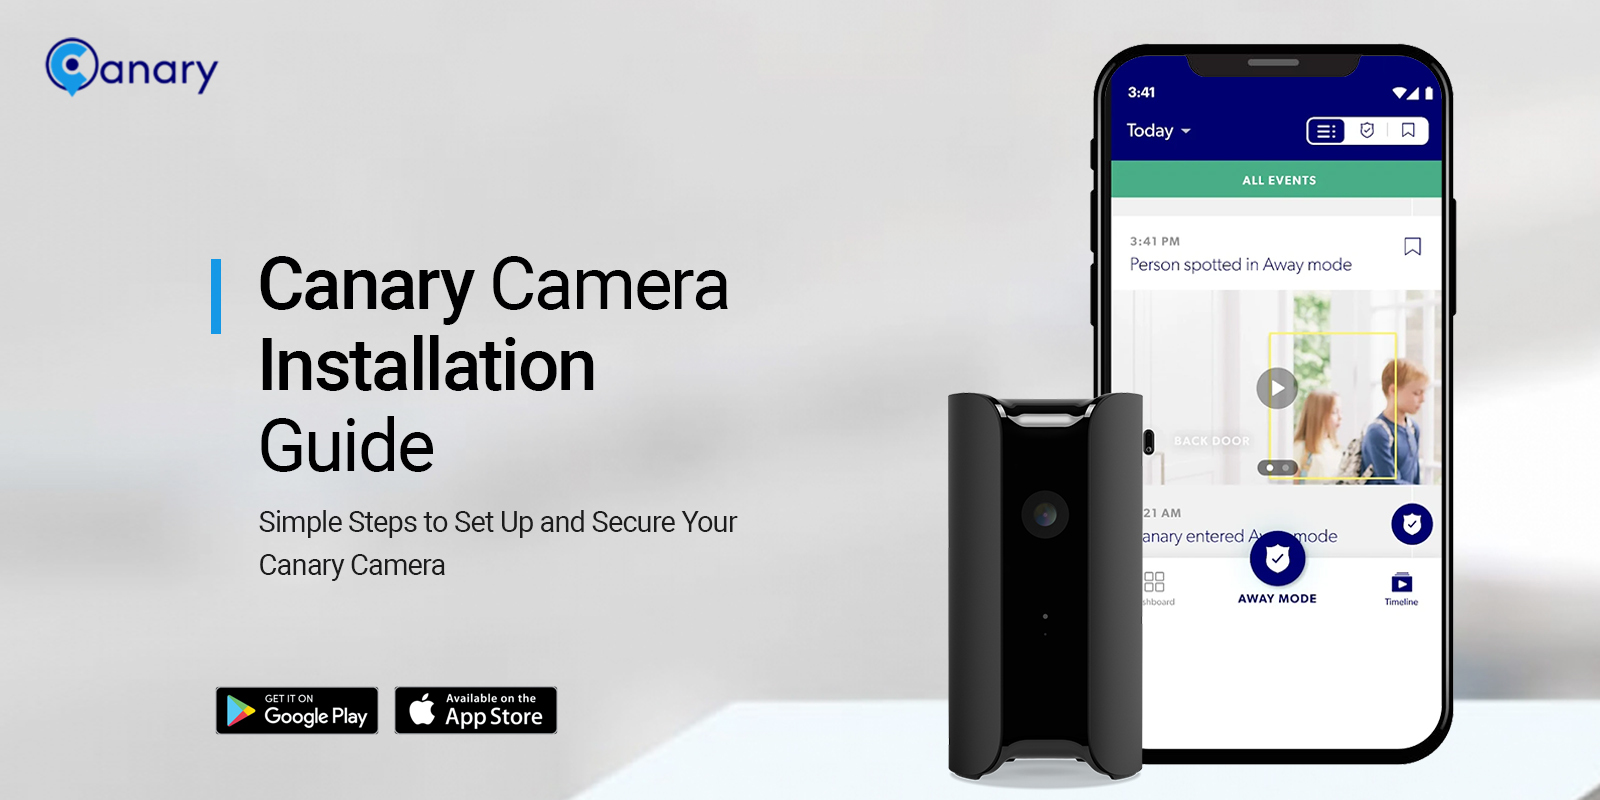
In today’s digital landscape, ensuring security for both your home and commercial premises is essential. One of the top-tier security gadgets available is the Canary camera, which comes equipped with advanced features and supports wireless network technology. Before using these cameras, it’s important to know the canary camera installation process properly.
Also, to move with the installation process, it is needed to locate and select the precise place to position with an acceptable power supply. Correspondingly, if you are seeking help with the installation process, then keep an eye on the complete post. Hereon, you uncover elaborative details involving the same and can effortlessly arrange your smart gadget.
Fundamentals to Install Canary Camera
When beginning the installation process, ensure you have the following items ready:
- Newly Unboxed Camera
- Mounting Screw/Anchors/Drill
- Location/Magnetic base
- Power Adaptor/Cables
- Canary app
- Web/IP address
- Sufficient Power Supply
- Computer/Laptop/Smartphone
How to Install Canary Camera Effortlessly?
Likewise, the installation is a crucial step if you purchase any of the safety cameras. Also, to install the smart camera, you must assemble the above-mentioned items with you. Later, you need to choose the appropriate place to position your camera. Ensure the preferred place is within the network range of your router. Now, let’s take a look at the fundamental steps for the camera installation in brief:
- First and foremost, remove the plain film from the surface of the packet.
- Now, open the package carefully and pick up the user manual/document from the box.
- Then, go through it and check the product document.
- Next, make sure that all the noted devices are available in the packet.
- Hereon, position the security device closer to the power supply or instead use an extension cord.
- Now, select the proper place within the range of the router.
- Then, charge the Canary device completely and link the power adaptor to the acceptable power supply.
- Later, take the pencil and mark the location where are willing to drill the surveillance device on the wall.
- After that, take the drill machine, equip the anchors on the wall, and then put the nails to mount the camera plate.
- Then, arrange your safety gadget on the screwed mount plate and set the angle of the camera.
- Furthermore, you can position this camera on a balanced surface like a table, shelf, etc.
- Afterward, open the updated version of the Canary app on your smartphone.
- Later, sign in to the latest account and then add the device to the app by following the on-screen instructions.
- Likewise, plug in the power cable and adapter to test the camera and its viewing angles.
- At last, you have accomplished the canary camera installation process successfully.
Final Thoughts
On the whole, the above-mentioned information regarding the canary camera installation process will assist you with the complete installation process. Likewise, here you find the complete installation process and some of the fundamental necessities. If you still need more help with the Canary Security Camera, then drop us a line!